Oaty Tea Bars (OTT Bars) from The Joy of Better Cooking
Servings: 16 bars
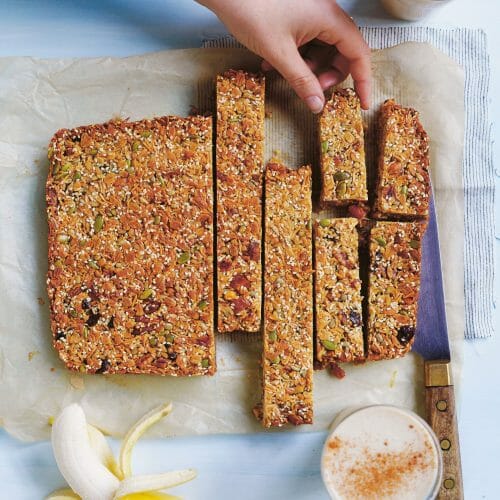
These oaty tea bars (see what I did there?) are great for school lunchboxes and afternoon snack slumps with a cuppa, using up the last of those packets or jar ingredients floating around your pantry taking up space. Maybe leave the dippy bit out if it’s headed for a lunchbox in the middle of summer, though. If you want to zhuzh up the bars to make them even more OTT, drizzle melted chocolate over them — or dip the corners in — and add a sprinkle of nature’s glitter: sea salt flakes.
PRINT
Ingredients
- 2 cups rolled oats
- 1 cup chopped nuts and/or nut meal hazelnuts are fab, but pecans or even roasted peanuts would work
- 1 cup mixed seeds such as pepitas (pumpkin seeds), sesame seeds, sunflower seeds, linseeds, hemp and/or chia seeds
- 1 cup flaked or shredded coconut
- 1 cup chopped dried fruit and/or choc chips
- 1 tsp salt flakes
- ½ cup raw sugar
- ½ cup honey
- 125 g (4½ oz) butter
- 1 tsp vanilla bean paste
Instructions
- Preheat the oven to 160°C (315°F). Dig out a high-sided 15 x 25 cm (6 x 10 inch) tray. (This isn’t a non-negotiable size — just note that the bigger the tray, the thinner and snappier your oaty bars will be.) Grease the tray with cooking spray, or brush oil or a little butter up the sides and then a smidge in the base. Press a sheet of baking paper over the base; the oil will help stick the baking paper neatly in place, so your bars don’t get random waves in the bottom.
- In a large mixing bowl, combine the oats, nuts, seeds, coconut and dried fruit (and/or choc chips). Sprinkle in the salt flakes and sugar and mix well.
- In a small saucepan, combine the honey, butter, vanilla paste and ½ cup (125 ml) water, bringing this delicious concoction to the boil. As soon as it starts to bubble and smell like honeycomb, add it to the dry mixture and stir well.
- Pour the mixture into the tray and press down. You might even like to place a sheet of baking paper over the top and really press down with the flats of your hands to get a lovely smooth finish. Pull this piece of baking paper off before transferring to the oven, but keep it handy for wrapping bars or keeping layers separate.
- Bake for 30 minutes, or until golden brown. The slab will be a bit puffy and HOT, so it needs to cool in the tray a little, before you can again place your baking paper over and press down with the flats of your hands to compress the mixture a little to get an even, pro-looking result. Feel free to leave the surface puffy and rustic, if you’d prefer.
- Chill in the fridge before cutting into squares or bars. Store in the fridge in an airtight container, with baking paper separating the layers. The bars will keep in the fridge for up to 10 days. They may go a little bendy, but will still taste great.
Notes
Spray your measuring cup with cooking oil before measuring out the honey; it will slip straight out like it’s Teflon-coated. This trick works with any pesky, sticky syrup.
To go vegan, you can exchange the honey for rice malt syrup or maple syrup, and use a plant-based butter spread in place of the butter.